How to Trim Your Cat's Nails Safely: The Quick, Small Cuts, and Cooperative Practice
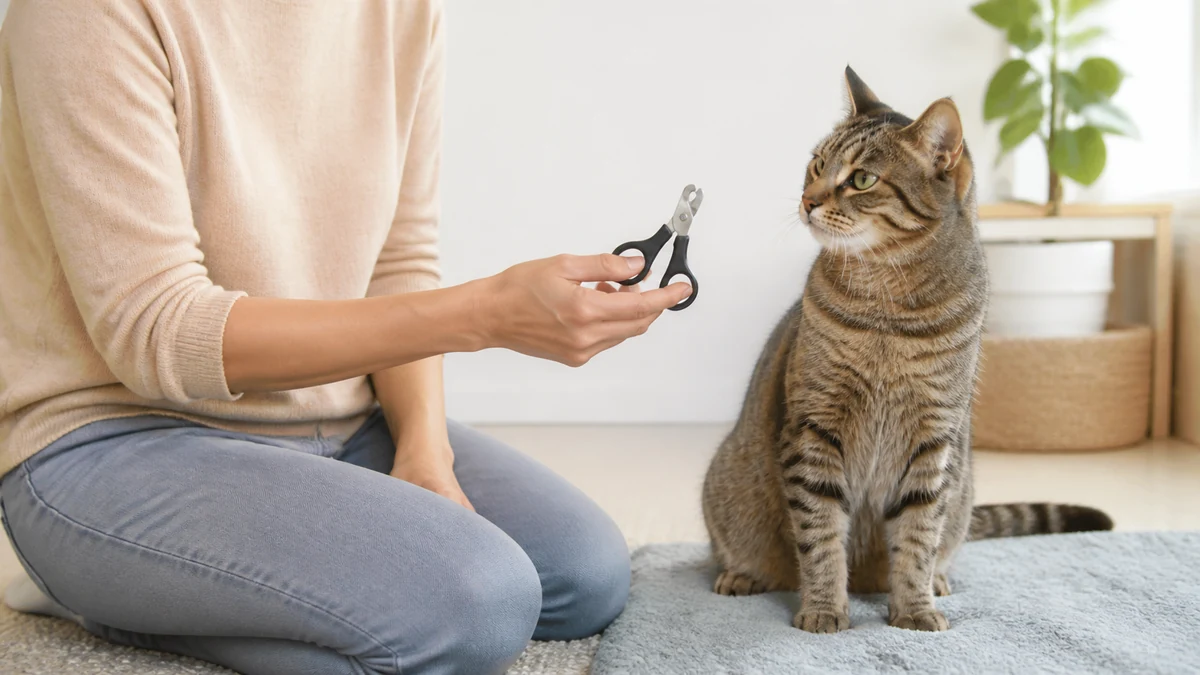
For a first cat nail trim, prepare in advance, work in bright light, expose one claw with gentle pad pressure, and remove only the thin hooked tip well in front of the quick. Stop after one or two claws if that is all the cat accepts. A complete trim is never worth a struggle. Practice seeing the clipper, touching a leg, holding a paw, and extending a claw on separate easy sessions before cutting. If the quick is hard to see, the nail is damaged, or either participant cannot stay safe, ask a veterinarian, veterinary nurse, or qualified cat groomer to demonstrate or do the trim.
Nail care is an inspection-based routine, not a fixed countdown. Some active cats keep their claws in workable condition through normal scratching, while older cats or cats with reduced mobility may need more help. Check the paws regularly and let the cat’s claws, comfort, activity, and ability to scratch guide the timing.
First decide whether a trim is needed
Trimming can blunt needle-sharp tips, reduce snagging, and help prevent severely overgrown claws from curving toward a paw pad. Cornell’s Feline Health Center recommends regular claw care and notes that veterinary staff can teach the technique. That does not mean every cat needs the same schedule.
Look at all toes, including the front dewclaws, which do not contact the floor like the other claws. A trim or professional assessment may be due when claws repeatedly catch blankets or carpet, remain conspicuous while the cat rests, interfere with normal retraction or scratching, or begin to curve toward a pad. A sudden change, pain, swelling, a split claw, or a claw already touching the pad is not a routine cosmetic trim; it belongs on the veterinary track.
Scratching remains normal behavior and contributes to claw maintenance. Nail trimming does not replace stable scratching surfaces. If furniture is the concern, use the environmental approach in our guide to cat scratching rather than trying to remove the behavior.
Know the quick before you pick up the clipper
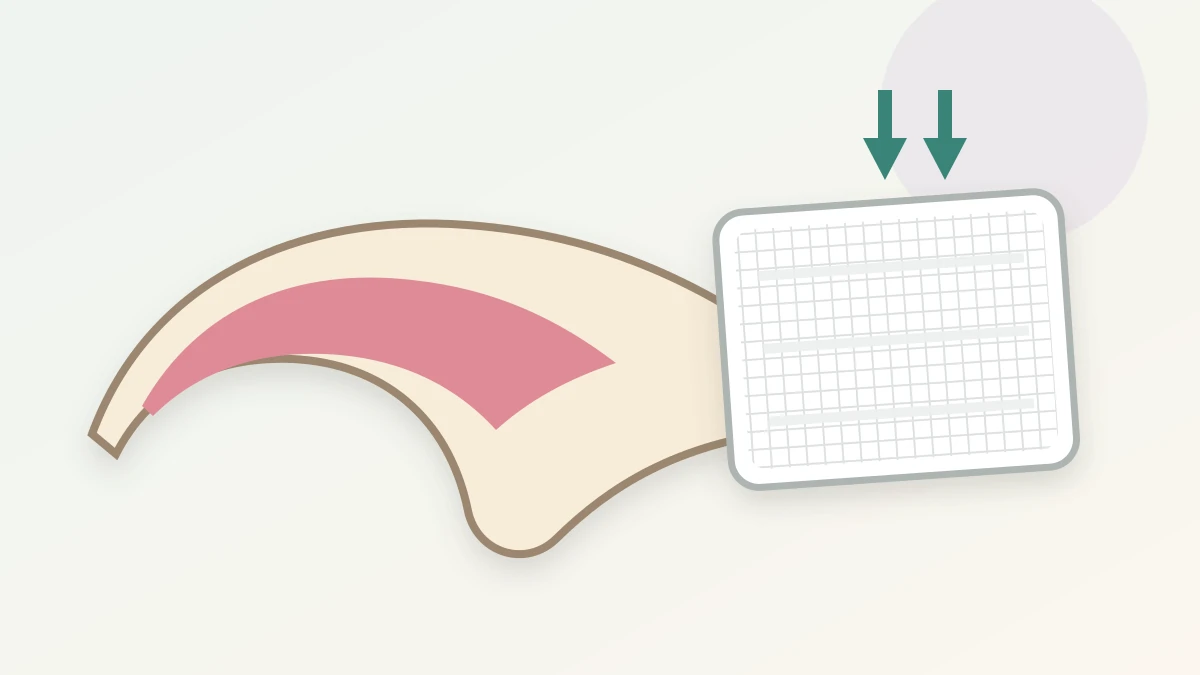
A claw has a hard outer portion around living tissue commonly called the quick. The quick contains blood vessels and nerves. Cutting the clear tip in front of it should not hurt; cutting into it causes pain and bleeding.
On a pale, translucent claw, use strong, even light and look from the side. The quick is usually visible as a pink area extending from the toe into the wider base of the claw. Leave a clear safety margin in front of it. Do not aim to cut as close as possible.
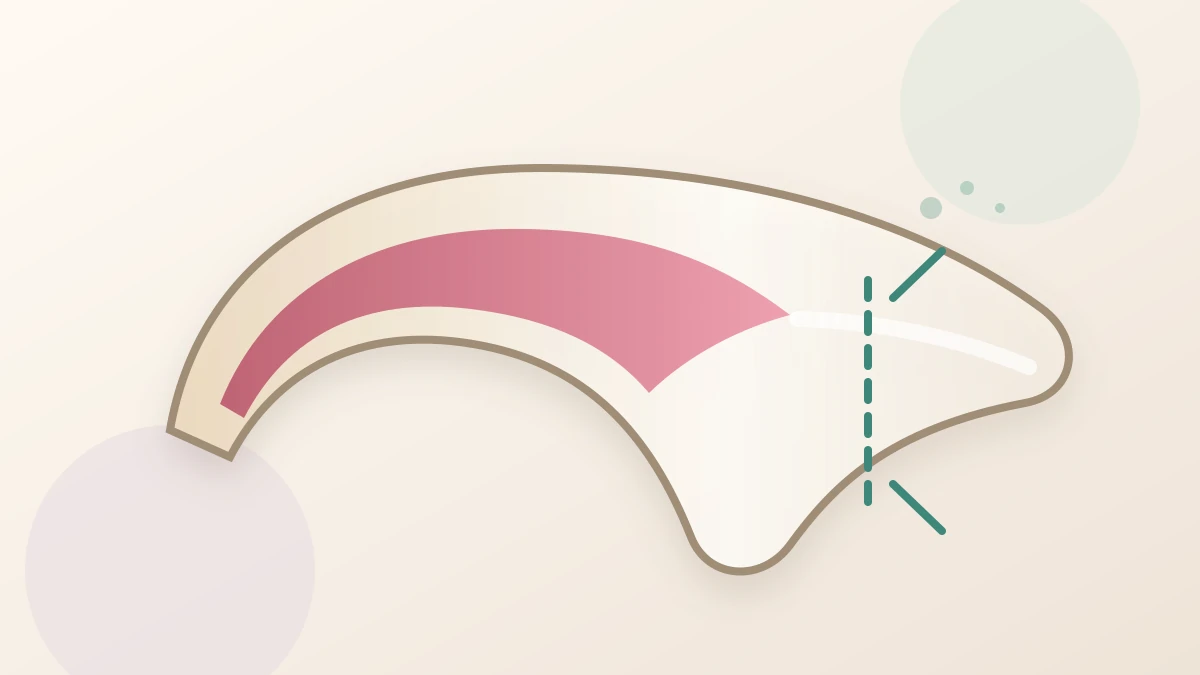
On a dark claw, color cannot give you the same boundary. VCA advises trimming where the nail begins to curve or hook downward and taking several small cuts rather than one ambitious cut. For a beginner, the conservative version is simpler: remove only a tiny sharp tip, reassess, and stop. If you cannot confidently separate disposable tip from living tissue, let a professional show you on that individual cat.
Set up so stopping is easy
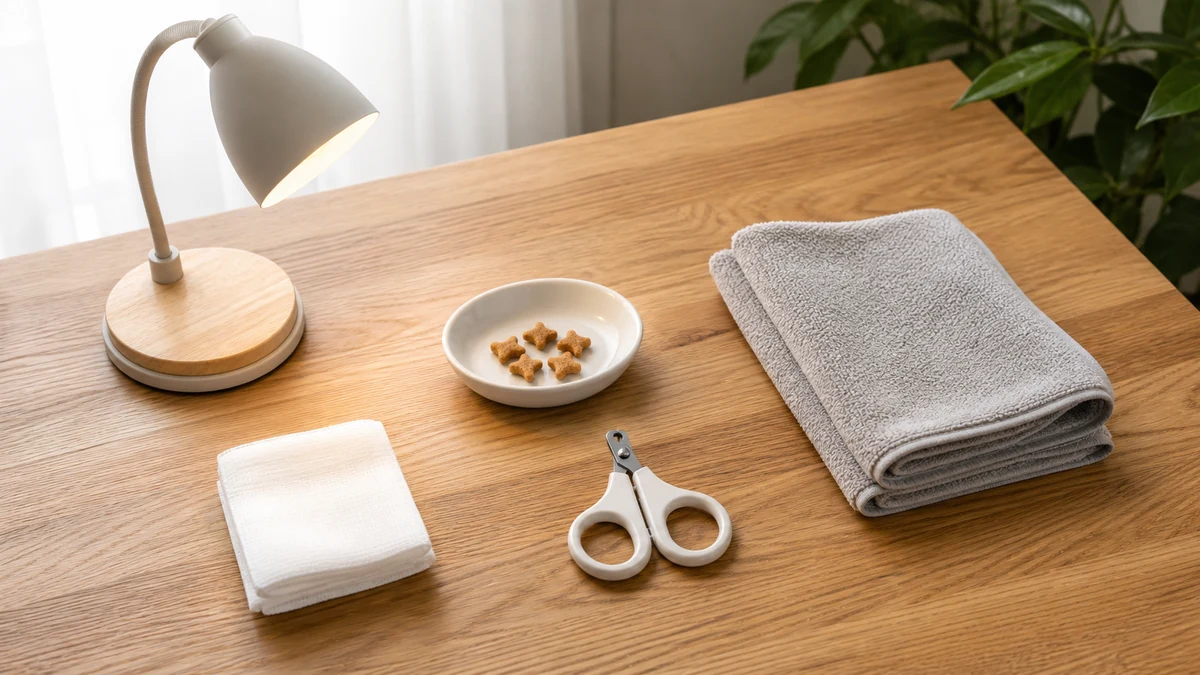
Choose a quiet room, a time when the cat is settled, and a stable nonslip surface. Close exterior doors and windows before beginning. Gather everything first:
- a sharp, small clipper made for cat claws;
- bright diffuse light that does not shine into the cat’s eyes;
- several pea-sized portions of a reward the cat genuinely values;
- clean gauze or a clean folded cloth in case a tip bleeds;
- a towel as a surface or familiar resting spot, not a tool for overpowering the cat;
- a phone or the clinic number if you are already concerned about a damaged claw.
Check that the clipper closes cleanly and that you can see the blade. Dull or oversized tools can crush or split a small claw. Keep your cutting hand free and support the paw with the other hand. If your hands shake, your vision is limited, or the cat is likely to bite, arranging professional help is the safe plan—not a failure.
A nine-stage desensitization ladder
The Feline Veterinary Medical Association describes cooperative care as teaching a cat to participate voluntarily rather than relying on physical restraint. It also advises against training when a cat is painful, ill, or showing protective behavior such as hiding, crouching, growling, or hissing. Apply that principle to nail care: each stage can be its own session, and the cat can step away.
| Stage | Brief practice | Ready to advance when | Stop or step back when |
|---|---|---|---|
| 1 | Put the closed clipper several feet away, then give a reward | The cat stays loose and chooses to remain | The cat freezes, hides, or will not take a normally valued reward |
| 2 | Pick up the clipper briefly, reward, then put it down | Movement of the tool no longer changes body posture | Eyes widen, ears flatten, or the cat leaves |
| 3 | Touch the shoulder or upper leg for one second | The cat remains comfortable | The cat flinches, turns sharply, or guards the limb |
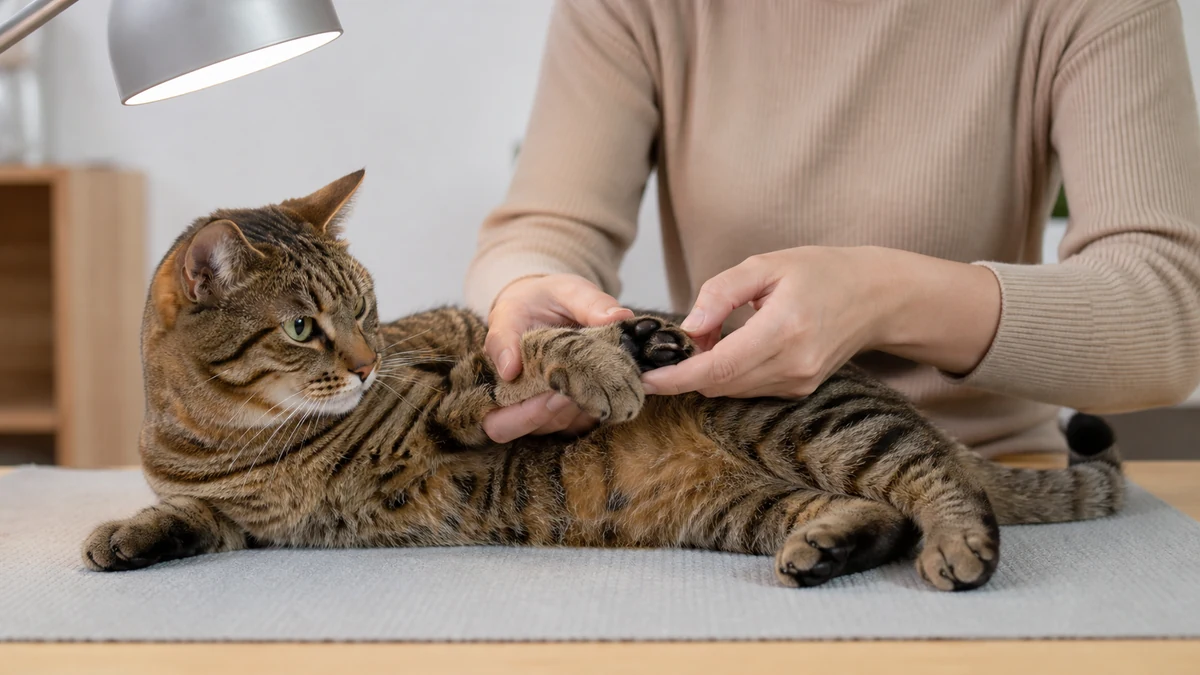
| 4 | Briefly touch the top and side of one paw | The paw stays on the surface without being trapped | The cat pulls away repeatedly |
| 5 | Rest fingers around the paw for one second, then release | The paw remains soft in the hand | Toes tense, claws grab, or the cat shifts away |
| 6 | Press a pad very gently until one claw appears, then release | The cat accepts several easy repetitions | The cat struggles or vocalizes |
| 7 | Touch the closed clipper to the outside of the paw | The cat stays relaxed | The cat focuses anxiously on the tool |
| 8 | Make the clipper sound away from the paw and reward | The sound predicts something pleasant | The sound startles the cat repeatedly |
| 9 | Clip one tiny tip, reward immediately, and finish | The cat recovers at once and remains willing next time | Any fear, pain, escalating resistance, or loss of control appears |
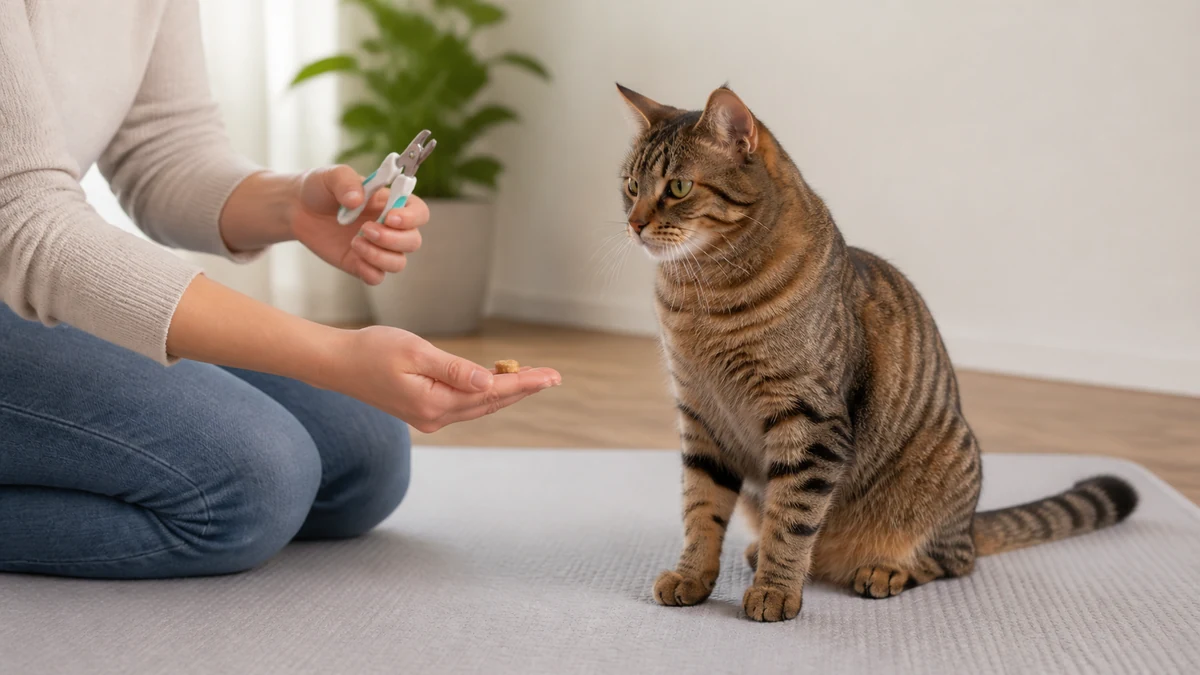
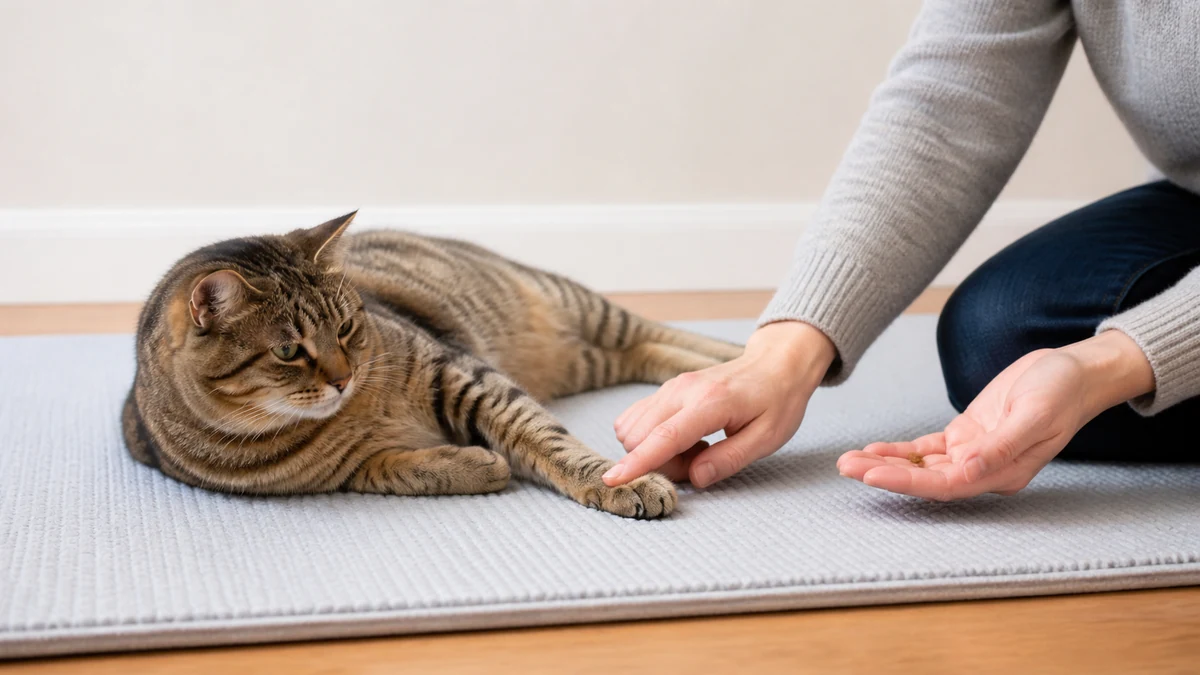
Keep sessions short enough that success still looks boring. Do not increase touch duration, restraint, clipper movement, and number of claws all at once. If a stage becomes difficult, return to the last easy version. A cat who accepts one claw today has completed a useful trim session.
The actual trim, one small cut at a time
Once the practice steps are comfortable, use this sequence:
- Invite the cat to the prepared surface. Let the cat choose a familiar orientation—sitting beside you, lying on a mat, or facing away—provided both the paw and escape route remain safe.
- Inspect before cutting. Look for dirt, cracks, asymmetry, swelling, redness, discharge, or tenderness. Stop if anything looks abnormal.
- Support one paw without squeezing. Hold only firmly enough to prevent the clipper and toe from moving independently. Never compress the chest or pin the whole body.
- Expose one claw. Place fingers above and below the toe pad and apply gentle pressure until the claw extends. Release if the cat withdraws.
- Locate the quick and choose a conservative line. On a pale claw, stay well ahead of the pink area. On a dark claw, remove only the narrow hooked tip.
- Orient the blades and make one decisive, small cut. VCA recommends applying cutting pressure from top to bottom rather than crushing the claw side to side. Keep hair and pad tissue clear of the blade.
- Release, reward, and reassess. Check the cut surface and the cat’s body language. Continue only if both are steady.
- Stop early on purpose. One or two claws can be the entire session. Finish before restraint becomes a contest.
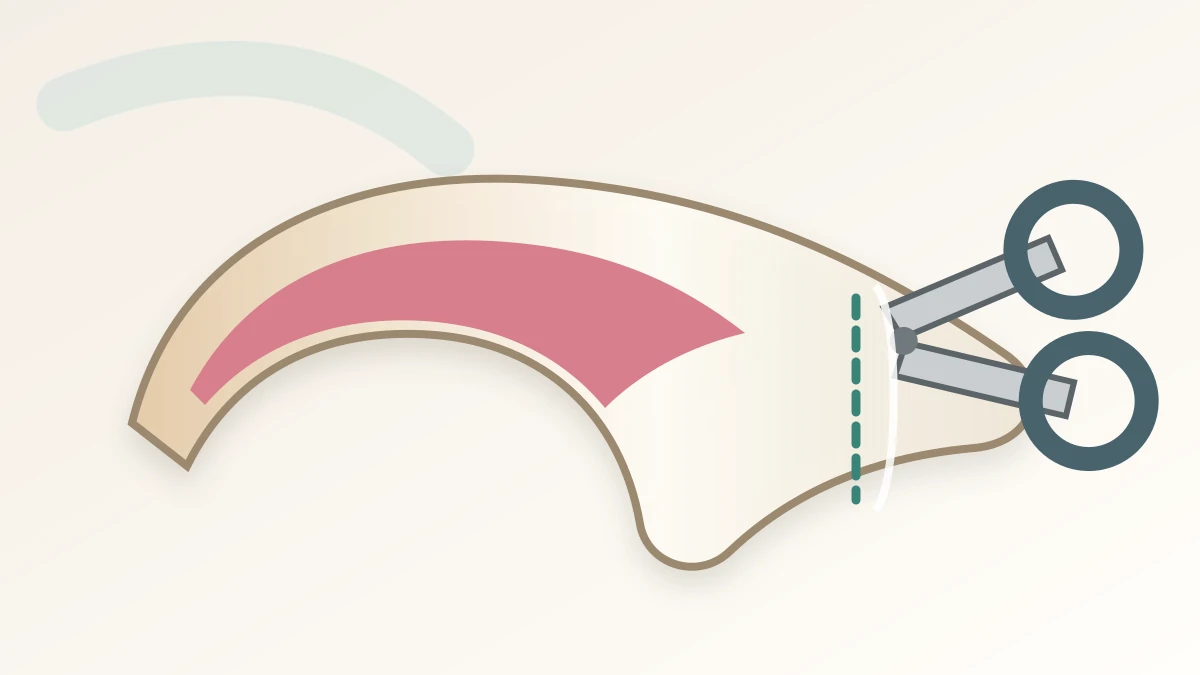
Inspect front and rear claws rather than assuming every paw needs the same work, and remember the front dewclaws. Keep a simple note of which paw was completed; do not chase the cat around the home to finish a checklist.
Body language is your stop button
A soft body, normal breathing, neutral ears, and willingness to take a familiar reward suggest the current step is manageable. A paw withdrawal is information, not disobedience. Pause when the tail begins lashing, the body stiffens, ears flatten, pupils enlarge suddenly, the cat turns repeatedly toward the hand, or a normally social cat stops engaging.
Stop completely for growling, hissing, swatting, biting attempts, frantic escape, panting, or suspected pain. The guide to stress signs in cats can help you notice subtler changes outside the trimming session. Multiple people pinning a cat down may finish more claws today while making future handling harder and risking injury to everyone.
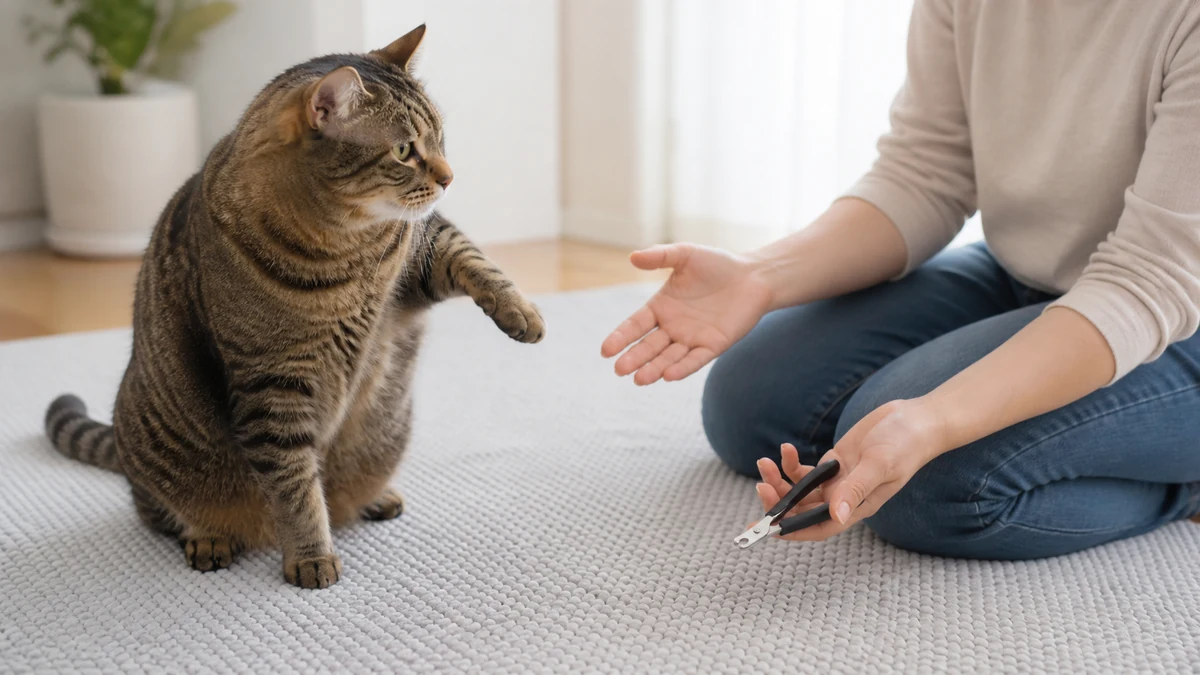
Do not punish, shout, spray water, scruff, or turn the session into a chase. Do not give a sedative, calming drug, or human medication on your own. If medication is ever appropriate, that decision and dose belong to the veterinarian who knows the cat.
If you nick the quick and it bleeds
Stay calm and end the trim. Keep the cat from running on the paw if that can be done without a struggle. Place clean gauze or a clean folded cloth on the nail tip and apply steady, gentle pressure for several uninterrupted minutes; repeatedly lifting it to check can disturb the forming clot.
For a small nick that stops, keep the area clean and monitor the paw. A veterinary team may recommend a pet-safe styptic product for a household first-aid kit, but follow the product and clinic directions rather than improvising wound products. Do not give pain medicine on your own; call the clinic for the next step if the cat appears painful.
Call a veterinarian if blood continues despite pressure, especially if it is still flowing after about five to ten minutes; if the quick or nail bed is exposed; or if the claw is split, partly torn off, or very painful. A broken claw is different from a cleanly shortened tip. VCA’s veterinary guidance notes that damaged tissue may need professional removal, pain control, protection, and monitoring for infection.
When a veterinarian or qualified groomer should take over
Stop home trimming and arrange appropriate help when any of these applies:
- a claw is curved into, touching, or threatening the paw pad;
- the nail is cracked, split, loose, bleeding, or has exposed pink tissue;
- a toe is swollen, red, warm, discharging, malodorous, or unusually tender;
- the cat limps, holds up a paw, stops jumping, or reacts as though handling hurts;
- the cat is extremely fearful, fights restraint, or creates a bite or scratch risk;
- you cannot see the cutting area clearly or cannot keep the clipper stable;
- bleeding does not stop with continuous pressure;
- claws change suddenly in color, shape, thickness, or growth pattern.
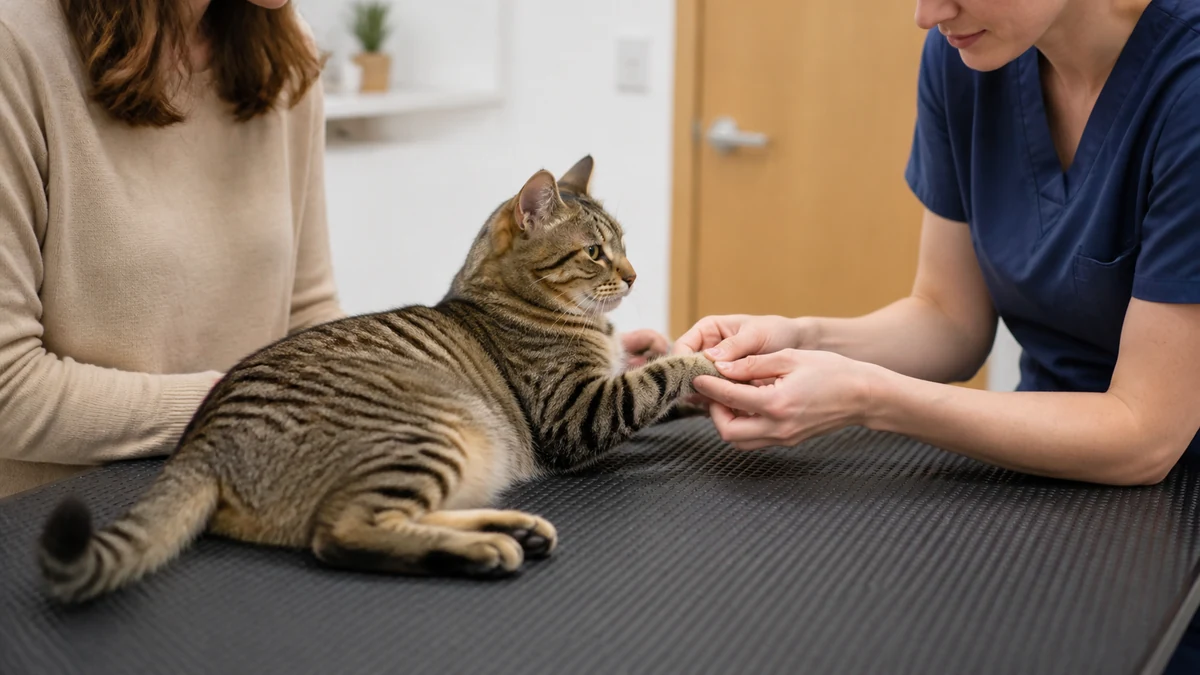
A qualified cat groomer can be appropriate for routine trimming in a healthy cat who can be handled safely. Pain, lameness, tissue damage, swelling, infection signs, an embedded claw, or unexplained changes require a veterinarian. Ask the professional to show the light angle, hand position, and conservative cut line on your cat rather than relying only on a generic diagram.
Nail trimming is not declawing
Trimming removes a small amount of nonliving claw tip. Declawing, or onychectomy, removes the third phalanx—the last bone of each affected toe. The Feline Veterinary Medical Association strongly opposes elective declawing and lists claw care, appropriate scratching surfaces, and environmental enrichment among the alternatives. It is not a shortcut for grooming or furniture protection.
The practical goal is modest: paws inspected, hazardous overgrowth prevented, sharp tips shortened only when needed, and the cat still willing to participate next time. A partial, calm trim is more successful than a completed trim achieved through fear.
FAQ
How often should I trim my cat’s nails? There is no safe universal countdown. Inspect the claws regularly and consider activity, scratching opportunities, age, mobility, snagging, retraction, and growth. Some cats need frequent help; some young active cats need little or none. Ask your veterinary team for an individual interval after they examine the paws.
Can I trim all four paws in one sitting? Only if the cat remains comfortable throughout. For a beginner cat or caregiver, one or two claws is a valid session. Several short, voluntary sessions are safer than forcing completion.
What if my cat has black or dark claws? Do not guess where the quick ends. Use strong light, remove only a tiny hooked tip, and stop. A veterinarian, veterinary nurse, or qualified groomer can demonstrate the safe line on that cat.
Why does my cat scratch even after a nail trim? Scratching is not simply an attempt to sharpen long claws. It is normal feline behavior that contributes to claw maintenance. Keep suitable vertical and horizontal scratching surfaces available.
Should I restrain a struggling cat with another person? An assistant can calmly provide rewards or help maintain a comfortable position, but multiple-person force is not a training plan. If the cat struggles, stop and build easier cooperative-care steps or use professional help.
Is declawing a permanent alternative to trimming? No. Declawing is amputation of the last toe bone, not permanent nail clipping. It should never be presented as a grooming substitute.